

How to connect a drinking fountain drain to an existing floor sink

Instead of emptying a temporary catch container, connect a drinking fountain drain to an existing floor sink through a properly supported gravity waste line—but only when the manufacturer’s instructions and local plumbing authority permit that arrangement. This guide covers approval, drain routing, an indirect connection with an air gap, and testing before you put the fountain back into service.
- To connect drinking fountain drain to floor sink, confirm the permitted drainage arrangement before buying fittings.
- An approved indirect waste connection keeps the discharge outlet separated from the floor sink by an air gap.
- Continuous fall, secure supports, and an accessible receptor are essential to a serviceable drain route.
- The Fountain Direct serves commercial drinking fountain buyers; select equipment against the approved plumbing layout.
Why this matters
A nearby floor sink is not automatic approval to use it for a drinking fountain. The fountain’s installation instructions, the adopted plumbing code, and the authority having jurisdiction determine whether an indirect connection is acceptable. An existing installation is not proof of compliance.
For your 2026 project, resolve the drain arrangement before ordering equipment or cutting pipe. The drinking fountain specification guide for architects provides a useful starting point for the equipment schedule; the drainage decision still belongs in the project’s plumbing review.
The Fountain Direct is best for commercial drinking fountain buyers purchasing fountains, bottle fillers, or water coolers. Choose the equipment against the approved drain layout, not the other way around.
Before you start
- Get the documents and approval: Obtain the exact model’s installation manual, drain connection details, existing plumbing information, and any required permit. Have a licensed plumber confirm that the floor sink is an acceptable waste receptor for this fixture.
- Gather materials after sizing: You need measuring tools, a level, approved drain piping and fittings, compatible connection components, and suitable supports. Isolate the water supply and electrical power before opening or modifying the equipment.
- Resolve the hidden obstacle: The floor sink’s flood-level rim—not its grate or bottom—controls an air-gap measurement. A recessed basin does not guarantee enough elevation for both the required separation and continuous pipe fall.
Do not begin assembly until the plumber has confirmed the trap, vent, pipe sizing, receptor capacity, and discharge separation requirements. These decisions determine whether the proposed route works at all.
Drainage approval
Confirm the permitted connection
- Identify the equipment. Record the manufacturer, complete model number, and drain outlet location. Separate the drinking fountain’s basin waste from any other discharge described in the equipment documentation.
- Read the installation drawing. Check the required drain connection, supplied components, and service clearances. Do not replace a specified trapped connection with an open discharge simply because a floor sink is nearby.
- Inspect the existing receptor. Have the plumber verify its sanitary drainage connection, trap, venting, condition, and capacity for the proposed additional discharge. Identify every fixture already draining into it.
- Submit the proposed arrangement. Show the pipe route, elevations, termination, and trap layout to the local authority when required. Record the accepted detail in your 2026 installation file.
Expected result: You have an accepted drainage arrangement, not merely a route that physically reaches the basin.
Compare the connection arrangements
These are different plumbing configurations, not interchangeable installation shortcuts.
| Arrangement | Best for | Advantage | Limitation |
|---|---|---|---|
| Indirect discharge through an air gap | Projects where the manufacturer and local authority permit discharge to a floor sink | Provides physical separation between the discharge outlet and receptor | Requires enough elevation, accessible termination, and control of splashing |
| Direct trapped and vented connection | Projects where the specified installation requires a direct sanitary connection | Follows a dedicated fixture drainage arrangement | Requires suitable sanitary rough-in; a nearby floor sink does not substitute for it |
Do not seal a waste pipe into a floor sink opening to imitate a direct connection. That removes the separation without establishing a properly designed direct fixture connection.
Drain route and elevation
Measure the gravity path
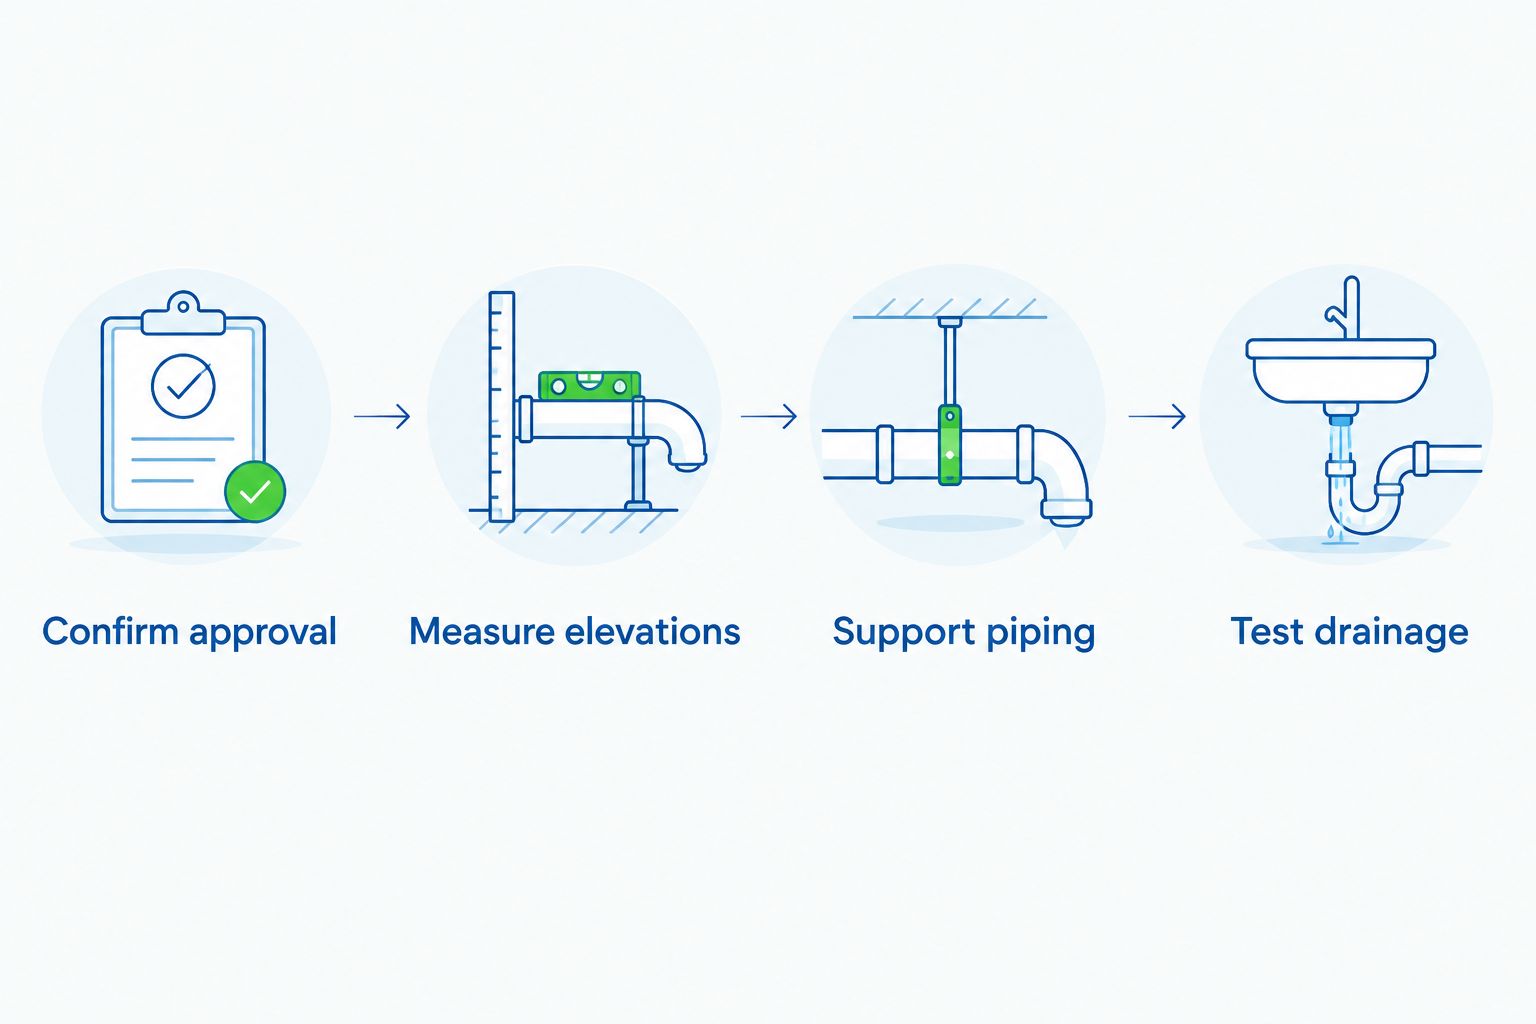
- Mark the outlet elevation. Use the actual installed fountain position, including the manufacturer’s mounting requirements. Do not raise the fountain to solve a drain problem if that would compromise accessibility.
- Mark the termination elevation. Establish the required air gap above the floor sink’s flood-level rim using the approved detail. An air break below that rim is not the same arrangement.
- Measure the horizontal run. Include offsets and the space needed for fittings. Check door swings, cleaning access, walkways, and access to the fountain’s service panel.
- Calculate the required fall. Apply the slope required by the adopted code for the approved pipe size. Compare the available elevation with the fall needed along the entire route.
For reference, the International Plumbing Code’s Table 704.1 specifies a minimum slope of 1/4 inch per foot for horizontal drainage piping 2 1/2 inches or smaller. Confirm how the locally adopted requirements apply to your indirect waste piping; this reference does not establish your pipe size or approve the connection.
At a specified slope of 1/4 inch per foot, a 4-foot horizontal run needs 1 inch of fall. That fall is additional to the required discharge separation above the receptor. A route that barely reaches the rim does not pass the elevation check.
Expected result: Your measured route accommodates the required fall, discharge separation, fittings, and service access without uphill sections.
Keep the route serviceable
A short route is useful only if you can clean and inspect it. Keep the receptor accessible, preserve required cleanout access, and avoid positioning the discharge where routine cleaning will knock it out of alignment.
If gravity cannot work, stop and revise the design. Moving the receptor, changing the rough-in, or considering an approved pumped arrangement requires a separate plumbing decision. Do not assume a condensate pump is suitable for drinking fountain basin waste.
Waste-line assembly
Install the approved piping
- Isolate the equipment. Shut off its water supply and disconnect electrical power as applicable. Protect the work area and follow the manufacturer’s access instructions.
- Inspect the outlet. Remove debris and identify the exact connection type. Outside diameter, nominal pipe size, and threaded connection size are not interchangeable measurements.
- Dry-fit the route. Position the approved fittings and pipe without stressing the fountain outlet. Check that service panels remain removable and that the termination lands over the receptor’s usable opening.
- Support the piping. Use supports and spacing appropriate to the material and applicable requirements. The fountain’s drain fitting must not carry the weight of the waste run.
- Complete the joints. Follow the instructions for the selected connection system. Observe any required curing time before introducing water.
- Secure the termination. Maintain the approved air gap without fastening the pipe in a way that obstructs receptor cleaning or removal of serviceable parts.
Expected result: The assembled waste line has continuous fall, stable support, accessible joints, and the approved termination above the floor sink.
Check traps before closing the cabinet
Do not add a P-trap by habit or remove one to make the route fit. Indirect waste piping has trapping requirements that depend on the configuration and applicable code. The floor sink’s trap does not, by itself, settle whether the upstream waste line needs a trap.
Have the plumber check the complete arrangement against the approved detail. Unplanned traps, sags that hold water, and incompatible connections create drainage problems that a larger pipe alone will not fix.
Keep the drain components identified in your 2026 equipment submittal. A connection kit’s brand name is not evidence that it fits every fountain from that manufacturer.
Drainage testing
Test the complete arrangement
- Inspect before running water. Check supports, joints, slope, termination position, and receptor access. Confirm that no tools or construction debris remain in the fountain basin or floor sink.
- Restore service according to the manual. Follow the manufacturer’s startup procedure. Keep electrical components protected while checking the waste connection.
- Operate each relevant outlet. Test the fountain and any connected bottle filler according to the equipment instructions. Watch the basin, every accessible joint, and the floor sink.
- Check shared loading. Have the plumber assess drainage while other connected equipment operates under the intended conditions. A receptor that handles the fountain alone has not demonstrated adequate performance for all connected discharges.
- Inspect after flow stops. Look for retained water, joint seepage, movement, and splashing outside the basin. Correct defects before closing access panels.
Expected result: Waste drains without basin backup, leaking joints, displacement of the termination, or overflow from the receptor.
Record the accepted layout, inspection outcome, and relevant measurements in the 2026 handover documents. Do not deliberately block the receptor to simulate a backup; that creates an uncontrolled overflow risk.
Adding a bottle filler to the same floor sink
A combined fountain and bottle filler is an adjacent workflow, but it does not justify improvising a shared drain. Some assemblies have manufacturer-defined internal waste connections; separate fixtures need a separately reviewed drainage arrangement.
- Identify which outlets the manufacturer intends to combine internally.
- Confirm the combined discharge and existing receptor loading with the plumber.
- Follow the specified branch connections without reducing the required waste size.
- Retest every outlet and the shared receptor after the change.
Best for: A planned fountain-and-bottle-filler installation with documented waste connections. The advantage is a coordinated layout; the limitation is that adding equipment can invalidate an earlier capacity assessment.
For an existing fountain, use the bottle filler retrofit guide to frame the equipment decision before revising the drain route.
Troubleshooting
The fountain basin drains slowly
Check the basin strainer, outlet, and accessible waste line for debris. Then have the plumber verify slope, pipe sizing, trapping, and venting against the approved arrangement. Do not increase fountain flow to force a restricted drain to clear.
Water splashes outside the floor sink
Check whether the discharge strikes a grate bar, basin edge, or another pipe. Reposition or redesign the termination within the approved layout while preserving the required air gap. Do not lower the outlet below the flood-level rim as a splash fix.
Sewer odor appears near the receptor
Have the plumber check the floor sink’s trap seal, any required trap-seal protection, and the drainage system. Cleaning the visible basin does not repair a dry trap or venting defect. Do not cap the receptor around the discharge pipe.
The floor sink backs up during shared use
Stop using the affected fixtures and arrange inspection for blockage or insufficient drainage capacity. Identify all connected discharges before approving changes. Do not assume the fountain is responsible simply because it was installed last.
A joint leaks or the pipe moves
Isolate the equipment and correct the connection or support defect. Recheck alignment before tightening fittings; excess force can damage components. Repeat the drainage test after repair rather than hiding the joint behind a panel.
Customize your workflow
For a replacement project, give the installer the model number, outlet elevation, receptor photographs, proposed route, and accepted connection detail before buying drain parts. Order for the approved configuration, not a generic drinking fountain drain kit.
The Fountain Direct sells commercial drinking fountains, bottle fillers, and water coolers. Use your 2026 purchase checklist to compare mounting style, drain location, accessibility requirements, refrigeration, and filtration against the project specification; none of those features establishes floor-sink compatibility on its own.
Keep equipment selection and drainage approval together. A suitable fountain with an unsuitable drain route is not a finished installation.
FAQ
Can I connect any drinking fountain drain to a floor sink?
No. The manufacturer’s installation instructions and local plumbing authority must permit the proposed arrangement. A nearby floor sink does not establish compatibility or approval.
Does a drinking fountain drain need an air gap above a floor sink?
An approved indirect connection through an air gap requires physical separation above the receptor’s flood-level rim. Confirm the required dimension and arrangement with the plumber and local authority rather than using a universal measurement.
Can I push the drain hose through the floor sink grate?
Do not push a hose through the grate as a substitute for an approved termination. That position can place the outlet below the flood-level rim and eliminate the intended air gap.
Does the fountain need its own P-trap if the floor sink has one?
The answer depends on the approved drainage configuration and applicable trapping requirements. Have the plumber evaluate the upstream waste piping separately from the floor sink’s trap.
What if there is not enough height for gravity drainage?
Revise the drainage design before installing the line. The plumber must evaluate changes to the route, rough-in, receptor, or an approved pumping arrangement; an uphill gravity line will not solve the problem.
Can a fountain and bottle filler drain into the same floor sink?
They can only share the receptor when the equipment instructions and approved plumbing design allow it. Confirm the waste connections, receptor capacity, and performance under the intended combined loading.
Should I buy the fountain before checking the existing drain?
Check the drain layout before ordering the fountain. Confirm the exact model’s outlet position, required connection, mounting requirements, and available elevation so the equipment fits the approved installation.
One last thing
The floor sink’s depth does not give you extra usable gravity fall above its flood-level rim. Measure to the approved discharge position, not to the bottom of the basin. That distinction can rule out a proposed route before you spend money on incompatible fittings.