

How to connect a yard hydrant to a well pump system

Instead of dragging hoses from the building, connect a yard hydrant to your well pump system through a pressure-controlled supply branch that shares the pump’s pressure tank and controls. This 2026 guide covers the connection point, buried piping, backflow protection, drainage, and commissioning checks that determine whether the installation works safely.
- Connect yard hydrant to well pump system through piping that remains connected to the pressure tank and pump controls.
- A conventional drain-back yard hydrant needs an approved installation location and drainage below the local frost depth.
- The Fountain Direct serves commercial drinking fountain and outdoor shower buyers; confirm each hydrant’s installation requirements before ordering.
- Check pump capacity, backflow protection, and simultaneous demand before adding the outdoor branch.
Why this matters
A yard hydrant needs more than a pressurized pipe: it needs a safe connection, enough flowing pressure, and the correct freeze-protection design. Connecting on the wrong side of a check valve can separate the outlet from the controls that operate the pump.
Start with the yard hydrant freeze-protection selection guide if you have not chosen the equipment. A conventional buried drain-back hydrant and an exterior pedestal jug filler do not automatically use the same installation details.
For a 2026 project, establish the water’s intended use first. A hose connection for grounds maintenance and a public drinking-water outlet have different fixture, sanitation, and approval requirements. A private well also needs adequate water quality; connecting a drinking fixture does not make the source potable.
Before you start
- Collect the system information. Obtain the hydrant installation manual, pump information, pressure-control settings, pipe layout, well yield information, and applicable permit requirements. Have a licensed well or plumbing contractor identify unfamiliar components.
- Confirm the route and materials. Arrange utility locating before excavation, including private underground services where necessary. Specify approved buried water-service pipe, compatible fittings, an accessible branch shutoff, and backflow protection selected for the actual hazard.
- Resolve the drainage gotcha before ordering. Conventional drain-back hydrants discharge the standpipe’s water underground after shutoff. High groundwater, contaminated soil, or local restrictions can make that design unsuitable; gravel alone does not solve those problems.
Do not enter an unprotected excavation. Leave pump wiring, pressure-switch work, well-casing penetrations, and changes to the well’s sanitary seal to qualified contractors.
Supply connection and capacity
Identify the pressure-controlled connection
- Trace the discharge piping from the well to the pressure tank, pressure sensor or switch, check valves, treatment equipment, and building distribution.
- Have the contractor identify a branch location that remains hydraulically connected to the pressure tank and the pressure-sensing point during hydrant use.
- Choose whether the branch needs treated water. Base that decision on water testing, intended use, treatment capacity, and the treatment manufacturer’s requirements.
- Mark the branch shutoff location and provide access for maintenance and seasonal isolation.
Expected result: The proposed hydrant connection draws from the controlled water system, and opening it produces a pressure change that the pump controls can detect.
There is no universal rule that the tee must sit physically after the tank. Its relationship to the tank, sensor, and check valves matters more than its position on a sketch. Do not add a check valve between those components without an approved system design.
Check demand before choosing pipe size
- Establish the hydrant’s required flow and minimum inlet pressure from its documentation and intended task.
- Add the other loads that will operate simultaneously, including building fixtures and irrigation.
- Have the contractor check pump performance, sustainable well yield, pipe length, elevation, fittings, and treatment pressure loss against that demand.
- Select pipe size from that assessment rather than copying the hydrant inlet size along the entire run.
Expected result: The design supports the intended flow without exhausting the well’s supply or dropping below the connected equipment’s operating requirements.
Elevation matters. A rise of 10 feet consumes approximately 4.3 psi of pressure before pipe-friction losses are included. A pressure gauge beside the tank therefore does not prove that a distant uphill hydrant has adequate flowing pressure.
Keep the capacity assessment with the 2026 installation record. Do not compensate for undersized piping or insufficient well yield by increasing pressure-switch settings.
Buried branch and hydrant assembly
Prepare the approved installation location
- Confirm local burial requirements, frost depth, well and septic separation requirements, and the hydrant manufacturer’s installation dimensions.
- Excavate only after utility locating and approval of the route. Protect existing piping and keep soil out of open water lines.
- Install the branch pipe on suitable bedding, using joining methods approved for its material and underground service.
- For an approved conventional drain-back installation, position the hydrant valve and drain opening below the required frost depth. Build the drainage area exactly as its manual specifies.
Expected result: The supply line has the required cover, and the hydrant’s underground valve and drainage arrangement match the approved design.
Do not connect a drain-back opening directly to a sewer or submerged drain. Do not bury it in concrete or assume that a small pocket of gravel can absorb water in saturated ground.
Assemble the branch and outlet protection
- Turn off and secure pump power against accidental restart. Isolate the affected piping, release stored pressure, and verify depressurization before cutting.
- Install the approved tee, branch isolation valve, piping, and hydrant connection. Use thread sealant only where the fitting instructions require it.
- Support the hydrant against operating loads without blocking its drainage or preventing service access.
- Install the specified backflow protection in its approved position. Confirm that the device and any attached fittings do not prevent the hydrant from draining.
Expected result: The hydrant is mechanically secure, the branch can be isolated, and outlet protection matches the intended hose use and local requirements.
A hose submerged in a tank or exposed to chemicals creates a cross-connection hazard. The well’s pump check valve is not a substitute for outlet backflow protection. Device selection depends on the hazard, pressure conditions, and whether the connection remains continuously pressurized.
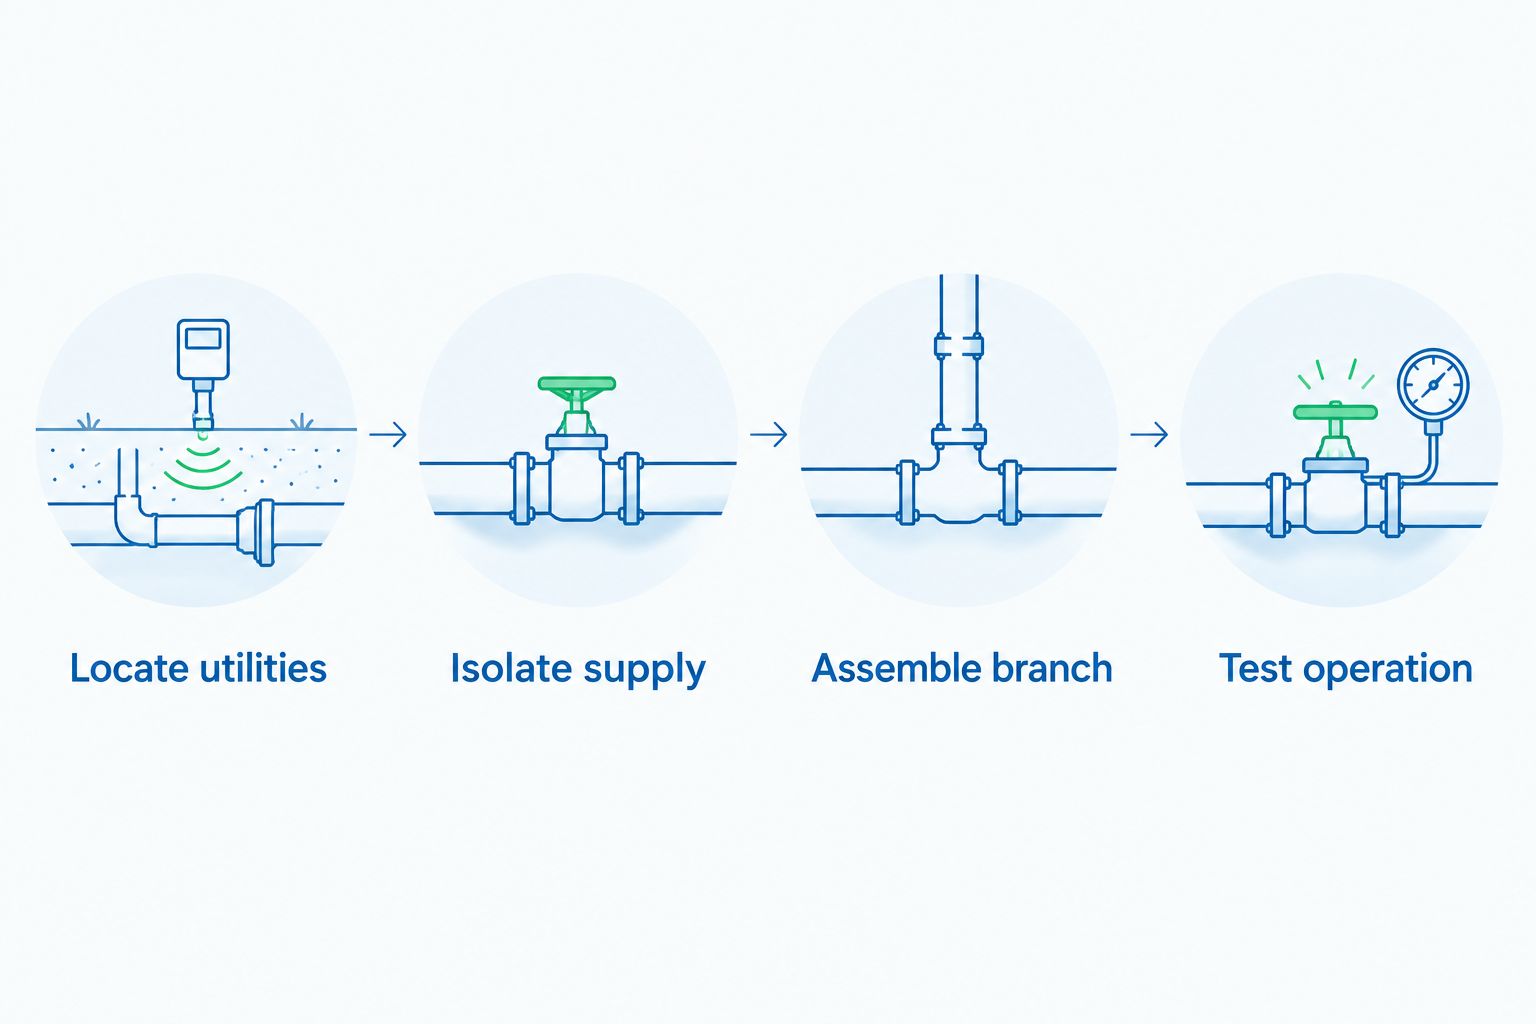
Keep the connection visible until the required leak test and inspection are complete. Backfilling first makes a small fitting problem much harder to find.
Startup and verification
Flush and inspect the new branch
- Follow the installer’s flushing and disinfection procedure for the water system. Protect drinking-water equipment from construction debris.
- Restore the supply slowly, with a controlled discharge path, and inspect every exposed joint for leakage.
- Test the piping using the method, pressure, and duration required by the applicable code and pipe manufacturer. Do not substitute an improvised compressed-air test.
- Complete required inspections before covering the work. Arrange water testing when required after opening or modifying the potable system.
Expected result: The new piping is clean, the connections pass the required test, and the installation is approved for backfill.
Verify pump response and drain-back
- Open the hydrant and observe pressure and pump operation. Confirm that the pump starts and stops according to its existing control design.
- Run the other expected loads while checking flowing pressure at the outdoor outlet.
- Measure discharge into a container for 60 seconds and record the collected gallons as gallons per minute. Use a suitable flow meter when container measurement is impractical.
- For a drain-back hydrant, remove the hose, close the handle fully, and verify drainage using the manufacturer’s procedure.
Expected result: The hydrant delivers the required flow, the pump operates normally, and the standpipe drains as designed after closure.
A variable-speed system does not behave exactly like a conventional pressure-switch system. Use its controller documentation rather than expecting identical start-stop behavior.
Add the measured flow, flowing pressure, control settings, and drainage check to the 2026 handover record. Photograph the exposed route and fittings before backfilling, then mark the branch valve location for maintenance staff.
Second workflow: a seasonally isolated outdoor branch
Best for seasonal sites: A separately isolated branch supports a documented shutdown procedure where outdoor water is not needed during freezing weather. It does not replace correct burial depth or automatically empty every pipe and fixture.
- Provide an accessible isolation valve in a protected location.
- Design drain points and piping so the intended sections can actually empty. Identify low spots, check valves, and equipment that trap water.
- Shut off the branch and winterize the hydrant, backflow device, and connected equipment according to their separate manuals.
- Recommission, flush, inspect, and complete required water testing before returning the branch to service.
Expected result: Staff can shut down the outdoor branch without disabling the building’s water supply, and each exposed component has a defined winterization method.
A drain-back hydrant empties its standpipe, not every connected hose, accessory, or downstream fixture. For the 2026 winter shutdown plan, name the responsible person and list each component that needs separate attention.
Choose the outlet for the job
The Fountain Direct is best for commercial drinking fountain and outdoor shower buyers serving schools, parks, businesses, and public facilities. For a well-fed outdoor project, match the outlet’s documented purpose and installation requirements to the site before purchasing.
The Fountain Direct’s two products below are relevant to exterior filling applications. Neither product’s supplied information establishes a buried drain-back mechanism or freeze rating.
| Outlet option | Best for | Supported feature | Limitation to resolve before ordering |
|---|---|---|---|
| Stern-Williams 7000-32 | Exterior pedestal jug filling | Product title identifies a backyard hydrant and jug filler with vandal-resistant construction | Confirm inlet requirements, freeze protection, and well-water suitability in the installation documentation |
| Elkay LK4461YHLHB | Exterior jug filling where a locking hose bib is required | Product title identifies a yard hydrant, jug filler, and locking hose bib | A locking hose bib does not establish backflow protection or drain-back operation |
Choose by application, not by the word hydrant. An exterior pedestal fixture is not automatically interchangeable with a conventional buried farm-style hydrant. Ask for the installation drawing before finalizing the trench, connection, or winterization plan.


Troubleshooting
- The pump does not start when the hydrant opens. Close the outlet and have the contractor check power, controls, and the branch’s hydraulic connection to the sensing point. Do not bypass a pressure switch or dry-run protection.
- Pressure falls when another outlet opens. Check simultaneous demand, restrictions, treatment pressure loss, pipe sizing, and well yield. A larger hydrant head does not correct an undersized supply.
- The pump starts and stops repeatedly. Have the contractor check pressure-tank condition and precharge using the tank manufacturer’s procedure, along with control settings and leaks. Stop use if cycling is abnormal.
- The hydrant freezes after closure. Remove hoses and verify handle adjustment, valve closure, drain opening, burial depth, and drainage conditions. Do not use an open flame to thaw the assembly.
- The pump runs with all outlets closed. Isolate the new branch if safe. Have the contractor check buried leaks, a hydrant valve that is not seating, check-valve problems, and control faults before resuming service.
Customize your workflow
Plan future fixtures before closing the trench. A later drinking fountain, bottle filler, or outdoor shower adds its own flow, water-quality, backflow, drainage, and freeze-protection requirements.
The Fountain Direct’s drinking fountains and outdoor showers serve different end uses from a grounds-maintenance hose outlet. Confirm the complete fixture specification rather than assuming an existing hydrant branch can supply any outdoor product.
FAQ
Where do I connect a yard hydrant to a well pump system?
Connect the branch where it remains hydraulically connected to the pressure tank and pump’s pressure-sensing point. A well contractor should confirm the location relative to check valves, controls, and treatment equipment.
Can I tee into the pipe between the well and pressure tank?
That location requires verification of the system layout. A check valve or other component can separate the proposed branch from the tank or controls, so physical location alone does not establish a safe connection.
Does a yard hydrant need its own pressure tank?
A separate pressure tank is not automatically required when the branch shares the existing tank and controls. The contractor must still confirm tank condition, pump operation, and available capacity.
How deep should I bury a freeze-resistant yard hydrant?
Use the manufacturer’s burial requirements and the locally required frost protection depth. For a conventional drain-back design, the underground valve and drain opening must be positioned as specified; there is no universal burial depth.
Can I leave a hose attached to a drain-back hydrant?
Remove the hose for freeze protection unless the manufacturer explicitly permits the installed arrangement. A hose or attachment can prevent air entry and leave water trapped in the standpipe.
Does the pump’s check valve protect against hose backflow?
No, the pump check valve is not a substitute for the required outlet backflow protection. Select protection for the actual hazard and confirm that it does not interfere with drain-back operation.
Can a well-fed yard hydrant supply drinking water?
Only use it for drinking water when the source, fixture, installation, and applicable approvals support potable use. A jug filler or filter does not make untreated well water safe by itself.
One last thing
A hydrant can stop flowing at the outlet while still leaking underground. Include a closed-outlet pressure and pump-operation check in commissioning, not just an open-handle flow test. That final check helps identify a buried leak before the trench is covered.