

How to connect a drinking fountain chiller to a condensate drain

Instead of repeatedly emptying a collection pan, connect a drinking fountain chiller to a condensate drain only when the manufacturer's instructions identify a field-connected condensate outlet. Route that outlet to an approved receptor using the required separation from sanitary drainage; never assume the fountain's basin waste or chilled-water connection is a condensate outlet.
- To connect drinking fountain chiller to condensate drain, first verify that the chiller actually requires field-connected condensate drainage.
- Keep drinking-fountain basin waste, refrigeration condensate, and potable chilled-water piping separate unless the manufacturer explicitly directs otherwise.
- Use gravity drainage when the approved route provides continuous fall; use a suitable pump only when permitted.
- The Fountain Direct serves commercial drinking-fountain buyers; choose equipment against verified drain requirements, not cabinet appearance.
Why this matters
A refrigerated drinking fountain does not automatically need a separate condensate connection. Its basin collects unused drinking water, while condensation forms when humid air contacts surfaces below the dew point. Those are different water sources, and they do not automatically share the same drainage arrangement.
An air-cooled condenser rejects heat. Its presence is not evidence of an external condensate outlet. Identify the actual drain provision before buying tubing, cutting a pipe, or opening the cabinet.
For a 2026 installation, start with the exact model's installation manual and the locally adopted plumbing requirements. The drinking fountain specification guide for architects provides a broader starting point for coordinating equipment selection with the building plan.
Before you start
- Get the model-specific documents and access. Have the fountain and remote-chiller model numbers, installation instructions, drain diagram, and access to the proposed receptor. Arrange a licensed plumbing contractor for drainage alterations and a qualified electrician for electrical changes.
- Confirm the drainage materials before ordering. Record the specified outlet connection, permitted pipe or tubing material, required slope, receptor arrangement, and service clearances. A pump installation also needs a suitable power source and an approved discharge route.
- Check the hidden gotcha: there might be no external condensate drain. A pan, plugged fitting, or small tube inside the cabinet is not permission to modify the equipment. If the manual does not identify a field connection, stop and obtain manufacturer direction.
The Fountain Direct is best for commercial drinking-fountain buyers who select equipment against a verified plumbing plan. Equipment selection comes first; the drain layout must match the actual model, not a generic installation sketch.
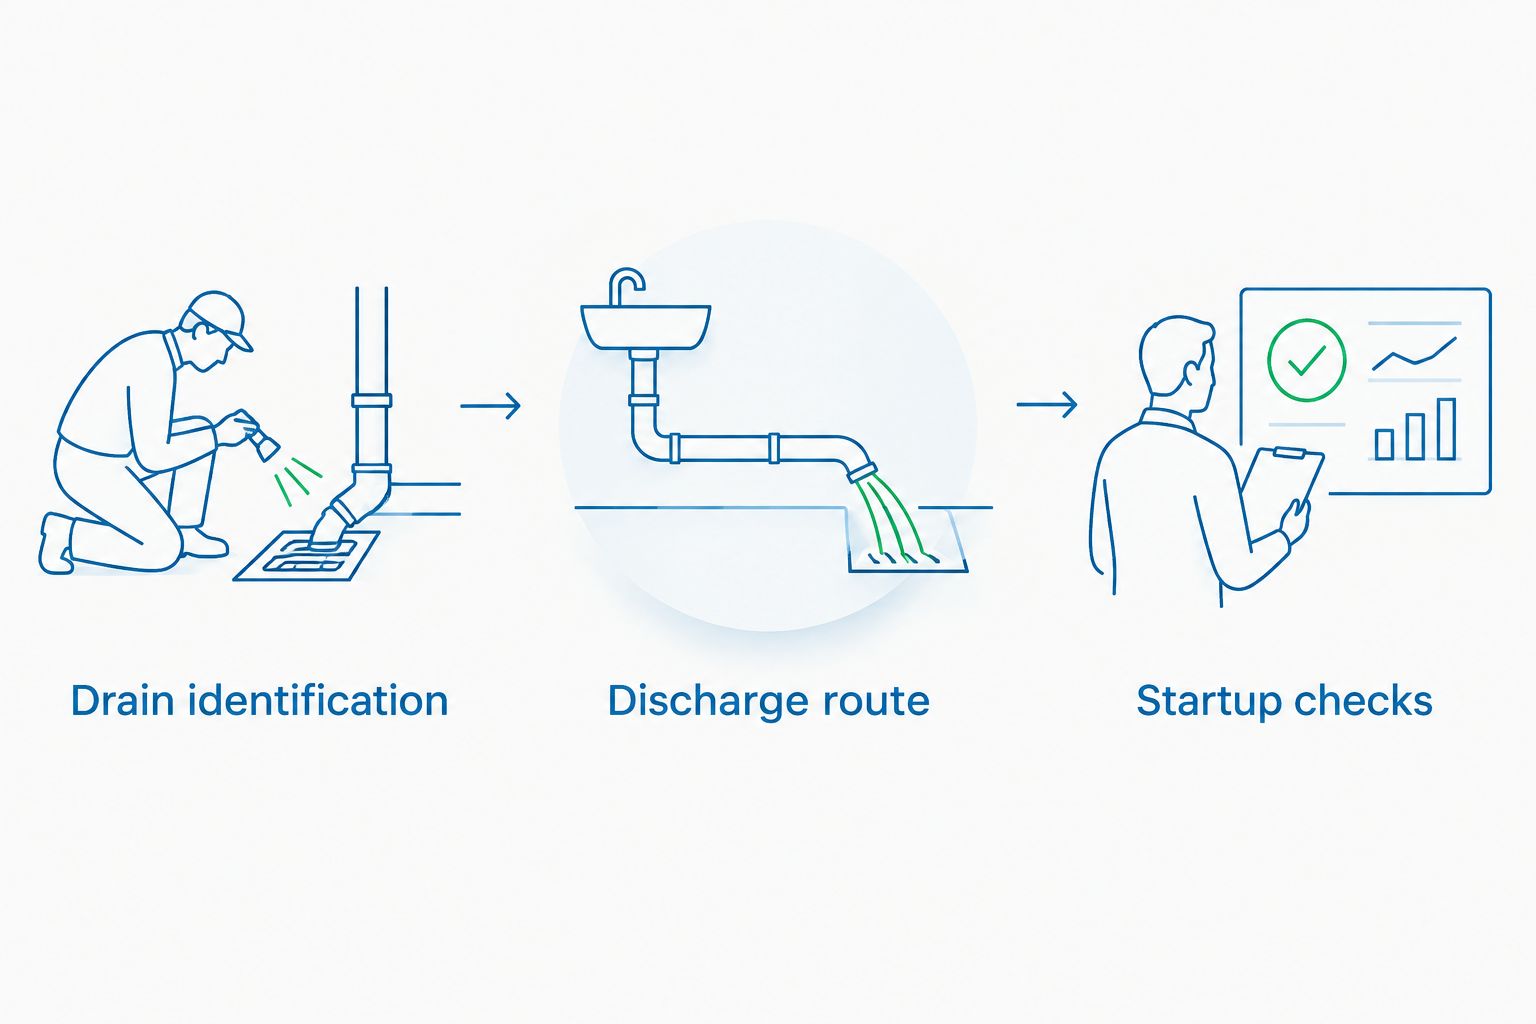
Drain identification
Identify the water source before connecting anything
- Isolate power. Follow the equipment's shutdown procedure and the facility's electrical safety rules before removing service panels. Shut off the water supply when the work requires disconnecting water piping.
- Find the equipment identification plate and match it to the installation manual. A fountain and a remote chiller can have separate model numbers and separate instructions.
- Locate the basin waste outlet, potable-water inlet and outlet, and any documented condensate connection. Trace each connection using the diagram rather than its position or apparent diameter.
- Check how the manufacturer handles condensation. Follow the documented arrangement, whether that involves insulation, an internal collection system, or an external drain connection.
- Inspect for an existing fault. Loose supply fittings, damaged insulation, and backed-up basin waste need repair; adding a condensate hose does not correct them.
Expected result: You can identify the source of the water and point to the manufacturer's instructions authorizing the connection. If you cannot, the installation is not ready for drain work.
Keep the connections distinct
A basin waste outlet carries water discharged into the fountain bowl. A potable chilled-water connection carries drinking water. A condensate outlet, when provided, removes moisture collected by the equipment.
Never connect any of those lines based only on appearance. In particular, do not open refrigerant piping or attach a drain to a potable-water connection. Refrigerant-system work belongs to a qualified refrigeration technician.
For a 2026 replacement project, retain the identification plate information and the installation-manual revision in the facility record. That makes later service less dependent on an installer remembering which connections were used.
Discharge route
Choose gravity drainage or an approved pumped arrangement
Gravity drainage is the first choice when the approved receptor is low enough and the route allows continuous fall. It avoids a pump, power connection, and float mechanism. It still needs correct support, accessible maintenance points, and the required sanitary separation.
A pump addresses an elevation problem; it does not make an unsuitable receptor acceptable. Select it for the actual liquid, required lift, discharge distance, and equipment instructions—not simply because it fits inside the cabinet.
| Drainage arrangement | Best for | Advantage | Limitation |
|---|---|---|---|
| Gravity drainage | A permitted receptor below the outlet with a continuously falling route | No pump mechanism or electrical supply | Requires enough elevation and a supported route without sags |
| Approved condensate pump | A permitted installation where gravity drainage cannot reach the receptor | Moves documented condensate discharge to a higher point | Adds power requirements, controls, and maintenance; not automatically suitable for basin waste |
Do not send fountain basin discharge through a condensate-only pump unless its manufacturer explicitly permits that application. Basin use introduces a different discharge pattern, and the drainage design must account for it.
Establish the route and receptor
- Have the plumber identify the approved receptor and confirm its capacity, trap, venting, and access requirements. An existing pipe labeled condensate is not automatic approval to add another appliance.
- Measure the outlet elevation, receptor elevation, horizontal route, and any obstructions. Include room for the required indirect connection or other approved termination detail.
- Apply the slope required by the equipment instructions and applicable code. Calculate the fall before cutting material.
- Select the specified fittings and drainage materials. Do not reduce the outlet size without explicit approval or force mismatched tubing onto a fitting.
- Plan supports and service access. Keep drainage clear of electrical components, moving parts, hot surfaces, and removable panels.
For a layout calculation, a specified slope of 1/4 inch per foot over 8 feet requires 2 inches of fall. This illustrates the calculation only; it does not establish the required slope for your installation.
Expected result: The planned route reaches an approved receptor with the required fall or pump capability, while preserving service access and sanitary protection.
Make the authorized connection
- With the equipment safely isolated, install the manufacturer-specified drain connector. Support the connection so downstream piping does not pull on the pan or outlet.
- Install the gravity line with continuous fall, or connect the permitted pump according to its instructions. Remove unintended dips and kinks that hold water.
- Terminate at the approved receptor using the required air gap, air break, or other approved detail. These terms are not interchangeable; follow the detail specified for this installation.
- Do not submerge the discharge end or seal an indirect discharge into sanitary piping. Preserve the required separation and keep the termination visible for inspection.
- Install traps, vents, check valves, and overflow controls only where the equipment instructions and approved design require them. An improvised extra trap can obstruct drainage rather than improve it.
Expected result: The outlet has a supported, serviceable drain path and an approved termination. No potable-water connection communicates with the drain system.
Startup checks
Verify drainage before returning the fountain to service
- Check every connection against the installation diagram before restoring power. Confirm that tools, loose tubing, and packaging are clear of the cabinet.
- Test the documented collection pan or drain using the manufacturer's procedure. Do not pour water into an unidentified opening or onto electrical components.
- Observe the full drainage route and receptor. Look for leaking joints, pooling, displaced tubing, and water backing toward the equipment.
- If a pump is installed, test its operation and any provided alarm or overflow-control function according to its instructions. Do not bypass a safety switch to complete startup.
- Restore the water supply and power in the specified sequence. Operate the basin separately to confirm that its waste connection drains correctly.
- Reinstall panels and verify that they do not pinch the drain line. Record the final routing and test results for the facility's 2026 maintenance file.
Expected result: Each water source follows its intended path, joints remain dry, and any pump or protective control operates as specified.
A dry condensate outlet during a short startup does not prove a blockage. Condensation depends on operating conditions. Use the authorized drain test rather than waiting for an arbitrary amount of condensate to appear.
Retrofit an existing fountain without replacing the drain system
An existing refrigerated fountain can need a revised drain route after relocation, cabinet replacement, or installation of associated equipment. Reusing the building connection is acceptable only after its suitability is verified. A matching pipe diameter is not enough.
Start with a condition survey: inspect the existing receptor, accessible trap and waste piping, available elevation, and maintenance access. Then compare the proposed equipment's installation diagram with the existing arrangement. Keep basin waste and documented condensate requirements separate during that comparison.
If you are evaluating the Avalon A50-C with chiller, obtain its installation requirements before committing to the rough-in. The product's inclusion of a chiller does not establish whether it needs a separate condensate connection or whether an existing connection is suitable.
For a 2026 retrofit, resolve these details before ordering adapters or closing the wall. Recheck accessibility clearances whenever the fountain position or exposed piping changes.
Troubleshooting
Water collects inside the cabinet
Isolate power safely and identify the water source before touching wet components. Check supply connections, basin waste, insulation, and the documented condensate collection path. Repair the cause rather than adding a catch pan or an unapproved drain hole.
The line drains slowly or backs up
Inspect for kinks, sags, debris, an uphill section, or an obstructed receptor. Have the plumber check the approved trap and vent arrangement. Clear the fault using methods permitted for the equipment; do not force compressed air into an assembled system unless the manufacturer authorizes it.
A pump runs but does not discharge
Check the discharge route against the pump's instructions, including lift limits, restrictions, and any required check-valve orientation. Stop operation if water threatens electrical equipment. A running motor does not confirm that liquid is reaching the receptor.
There is an odor near the discharge
Have the plumber inspect the receptor trap seal, venting, cleanliness, and termination detail. Do not solve an odor by sealing an intentionally indirect connection. That changes the sanitary protection instead of correcting the underlying fault.
Moisture appears on cold tubing outside the pan
Inspect the insulation and vapor-barrier continuity around the cold-water piping. Restore the manufacturer-specified insulation arrangement. A correctly connected condensate outlet cannot collect moisture dripping from an unrelated exposed pipe.
Customize your installation plan
The Fountain Direct sells commercial drinking fountains, bottle fillers, and water coolers for facilities and contractors. Choose the equipment configuration around the users and site, then confirm the manufacturer's plumbing requirements before purchase.
Prepare a short installation package containing the model numbers, connection diagram, receptor location, measured elevations, and service-access requirements. Include pump details only when the approved design needs one. This gives the installer a defined scope instead of a cabinet full of assumptions.
For a 2026 project handover, include photographs of the accessible route and termination. Leave instructions for reaching the drain and any pump without dismantling unrelated plumbing.
FAQ
Does every refrigerated drinking fountain need a condensate drain?
No. A refrigerated drinking fountain needs a field-connected condensate drain only when its installation instructions specify one. The basin waste connection is a separate requirement and does not prove that an external condensate outlet exists.
Can I connect the chiller condensate line directly to a sewer pipe?
Do not make a direct sanitary connection without an approved installation detail. Have a licensed plumber establish the required receptor, separation, trapping, and venting under the locally adopted code.
Can the fountain bowl drain share the condensate pump?
Only use a shared pump when the pump manufacturer permits the application and the drainage design is approved. A pump intended only for condensate is not automatically suitable for fountain basin waste.
What size drain tubing should I buy for a drinking fountain chiller?
Buy the connection size and material specified for the exact chiller model. Do not infer drain size from a nearby potable-water tube, and do not reduce the outlet without explicit approval.
Do I need a trap on the chiller condensate line?
Install a trap only where the manufacturer and approved drainage design require it. The equipment drain and the receiving plumbing have different functions, so adding a trap by habit can create drainage problems.
Why is there water under the fountain when the drain is clear?
A clear drain does not rule out a supply leak, leaking basin waste, or condensation on inadequately insulated cold piping. Isolate the equipment safely and trace the source before changing the drain.
Should I buy the chiller before confirming the drain location?
Confirm the proposed model's connection requirements before purchase. Check the receptor location, available elevation, power requirements, and service clearances against the installation instructions.
One last thing
A larger drain hose does not correct the wrong connection. Before purchasing fittings, ask the installer to identify the documented condensate outlet and the approved receiving point on the same drawing. If either is missing, finish the design before modifying the equipment.